
How to use OBS overlays for a professional webinar look

Amar
24 de enero de 2021 - 4 min - Actualizado: 09 de julio de 2026
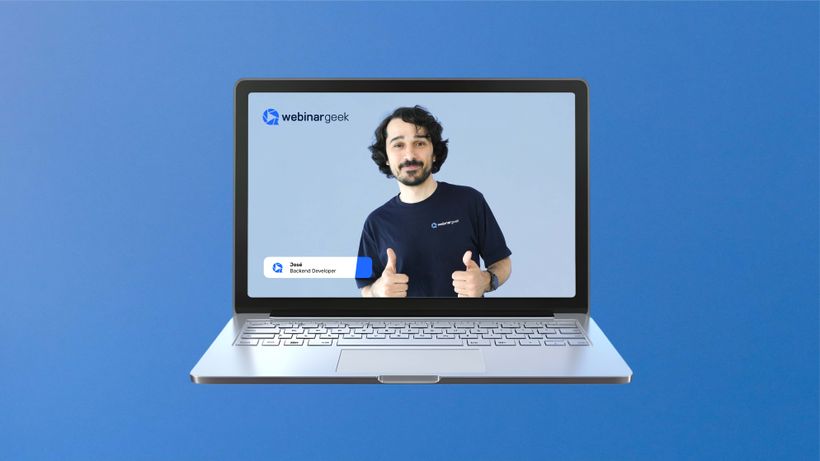
Sharing knowledge during your webinar is a great way to connect with your audience, but the way your webinar looks matters just as much as what you say. A polished, on-brand visual presentation keeps viewers engaged and builds trust from the moment they tune in. That's where overlays come in.
What is an overlay?
A webinar or video is made up of layers, both audio and visual. On the audio side, you might have background music and a voiceover. Visually, it's all about moving images and text. An overlay is an additional layer placed on top of your video, and it's one of the easiest ways to give your webinar a professional, branded look.
Overlays typically include elements like a logo to keep your brand visible throughout the session, a lower third to display your name and title, and a banner to highlight key information.
Keeping your logo in view during your webinar subtly registers your brand in the minds of your viewers, creating that connection that keeps them coming back. Compare a webinar without an overlay to one with a logo and lower third, and the difference is immediately clear.


An overlay can be static or dynamic. A static overlay, like a logo, stays on screen throughout the webinar. It's common to set the opacity to around 80% so it doesn't distract from the content. A dynamic overlay is a transparent video element, like an animated lower third, that adds movement and a truly professional finish to your presentation.
Create your own overlay
You can create an overlay in different ways, and you don't need to be a designer to get great results.
If you have Adobe Illustrator, you can download free vector templates on Magnific and adapt them to your own branding. There are thousands of templates available, so finding something that fits your style is easy.
Prefer something simpler? Use FlexClip to easily create dynamic lower thirds for your webinar. Don't go straight for the most advanced animation though, take the time to explore what suits you and your brand. Sometimes a clean, simple lower third makes more of an impact than something overly flashy.
Not sure where to start? Placing your logo in the top left or right corner of your webinar is already a great first step and instantly gives your presentation a more polished feel.
Adding your overlays in your webinar with OBS
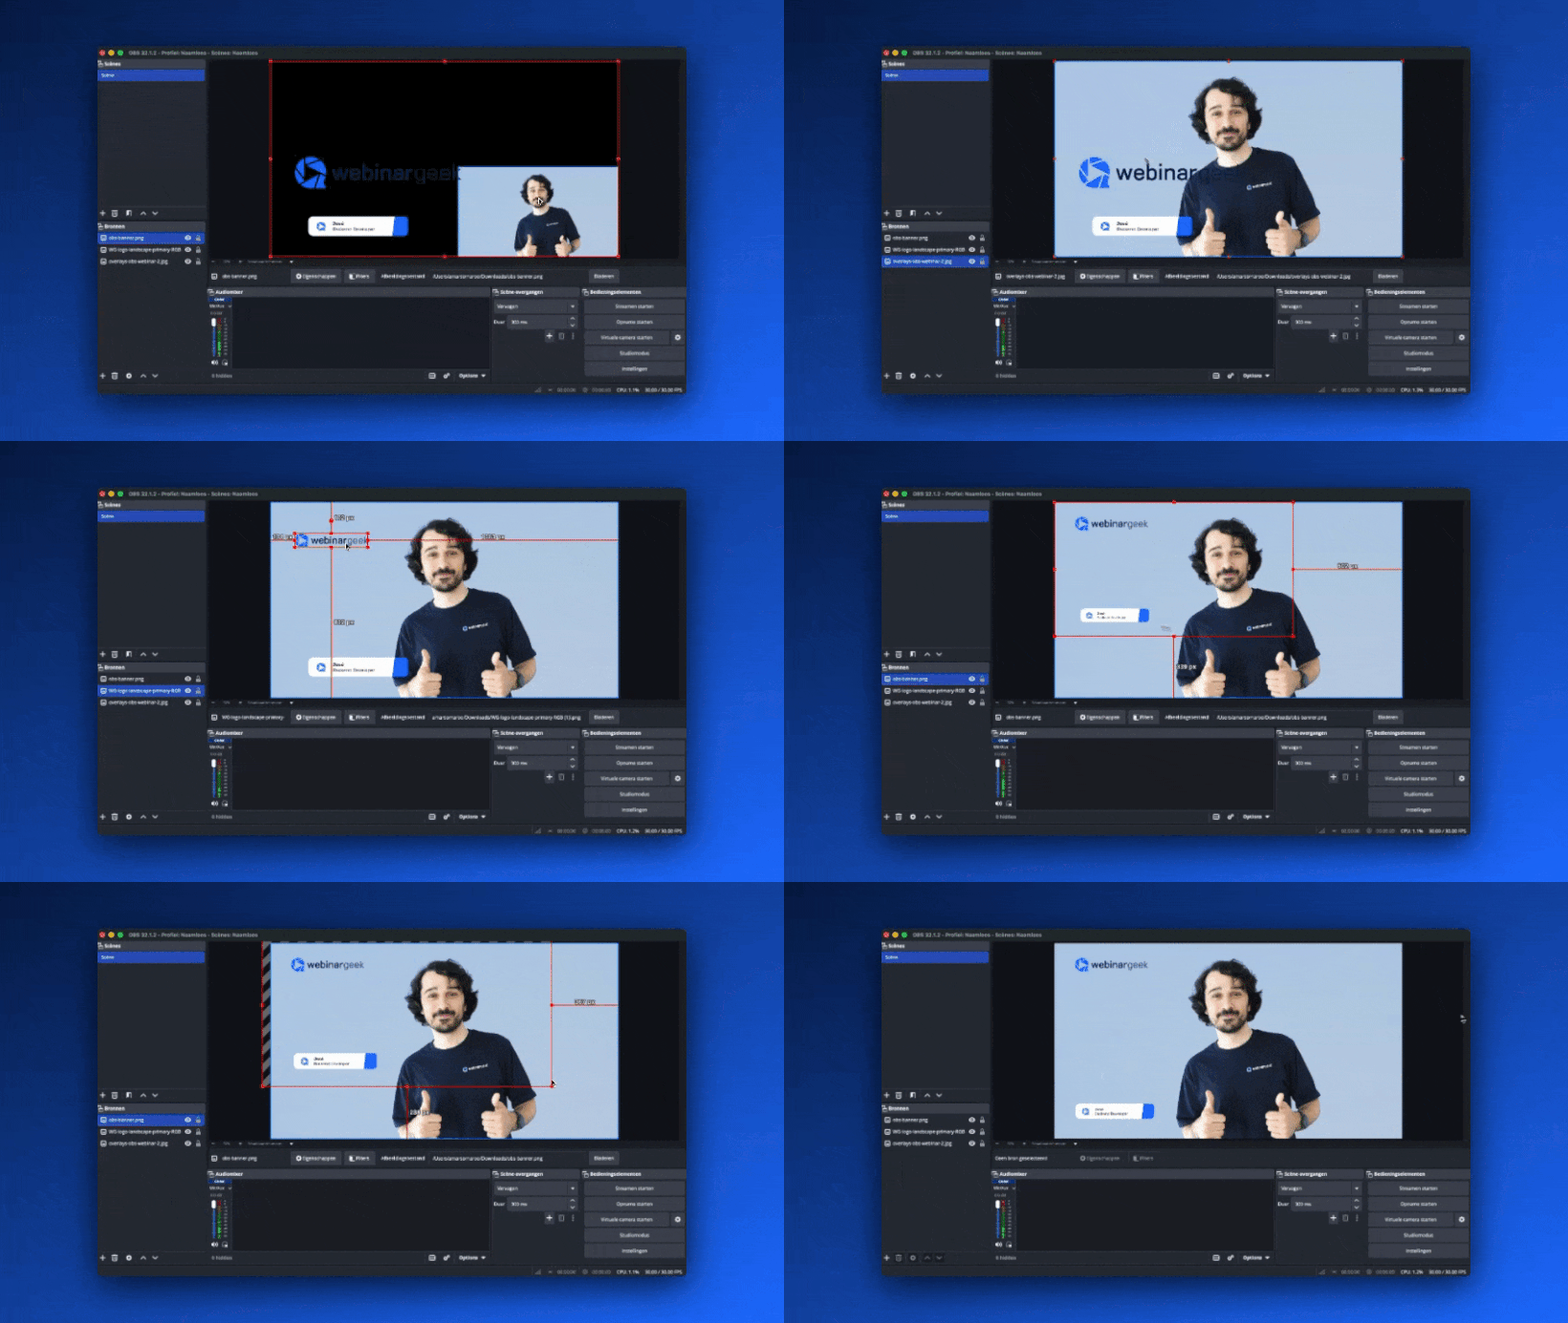
Once your overlay is ready, it's time to bring it into your webinar using OBS (Open Broadcaster Software). OBS is a widely used virtual stream encoder that you can download for free.
Here's how it works: add your overlay as a source in OBS, then head back to WebinarGeek and select OBS as your virtual camera. Your overlay will now appear live in your webinar. Want a step-by-step walkthrough? Watch 'How to Stream LIVE Webinars online with OBS' for a full guide on getting everything set up.
Summary
Overlays are one of the simplest and most effective ways to make your webinar look more professional and on-brand. Whether you go for a static logo or a dynamic animated lower third, adding an overlay instantly elevates the quality of your presentation. With free tools like Freepik and FlexClip to create them and OBS to bring them to life, there's no reason not to give it a try.
Ready to take your webinar to the next level?
Upgrade to WebinarGeek's Enterprise plan and easily add stream decoders and professional overlays to your webinar.
Explore hosting webinars today
Start free trial