Create Multi-Camera Webinars
Remy
15 August 2019 - 4 min
How can you use the Virtual Camera in Open Broadcaster Software (OBS) for your webinar?
Open Broadcaster Software (OBS)
OBS is software with lots of options for live video streaming. Combined with Virtual Cam it can also be used to incorporate professional equipment into your webinar. It’s also possible to use OBS for easy broadcasting of multi-camera webinars, as well as creating different settings for the broadcast. For example, picture in picture.
In OBS you have the option to add sources. When you connect your camera to your computer, it can practically always be used as the video during the webinar. Using Google you can find instructions for practically every type of camera to set this up. In Google, search for your camera brand and type this in combination with terms like “as webcam”, or “to computer”.
The next step is to recognize the camera as a webcam. For this, you can use your OBS software. OBS is an acronym for “Open Broadcaster Software”. It’s a free open-source software to record videos with and use for live streaming. It can do a lot more than showing your video as a webcam. For example, you can merge multiple camera images (split-screen), add filters, layer multiple camera images (picture-in-picture), and you can add images and other types of media to your video. The possibilities are endless!
For now, we're keeping things simple. Let’s use our OBS software to convert our external video as a webcam. This is how:
Download OBS at https://obsproject.com.
Open OBS, and add your camera source to “Sources”. Can’t find this setting? Perhaps there’s a problem with the detection of your camera.
In the 'Controls' section, select 'Start Virtual Camera'.
Open the WebinarGeek app and open your (test) webinar.
In the “Settings” select the “OBS Virtual Camera” input as your camera.
With just a few clicks you can convert your external camera into a webcam for your webinars.
About OBS
Is compatible with: Windows, Mac, and Linux.
Price: free
Benefits
Lots of possibilities, you can use a lot of sources and merge them into a video image that suits your needs.
No additional hardware required, as long as your camera source can be detected as input.
A large community, so there’s lots of information and support on the internet.
Drawbacks
It's a software solution, so it asks a lot of extra CPU power from your computer, test this thoroughly!
Requires more configuration and knowledge compared to a hardware solution.
Won’t work with all external equipment, you might need extra cables or need another solution, such as the U-TAP or the WebPresenter.
Start testing with a multi-camera set up
Try 14 days for freeRelated articles
Preventing and managing technical issues during your online event
Hosting online events can be exciting, but let’s face it: technical issues can sneak up on you, and that’s the last thing you want. So how can you prevent and manage those issues? In this blog, we’ll walk you through how to stay calm, focused, and professional while delivering a seamless experience for your audience.
The Ultimate Guide for the Best Tech Equipment to Host Webinars
Are you looking for a way to host professional-looking webinars without having to invest in an expensive webcam? This is how you can use your phone camera as a webcam.
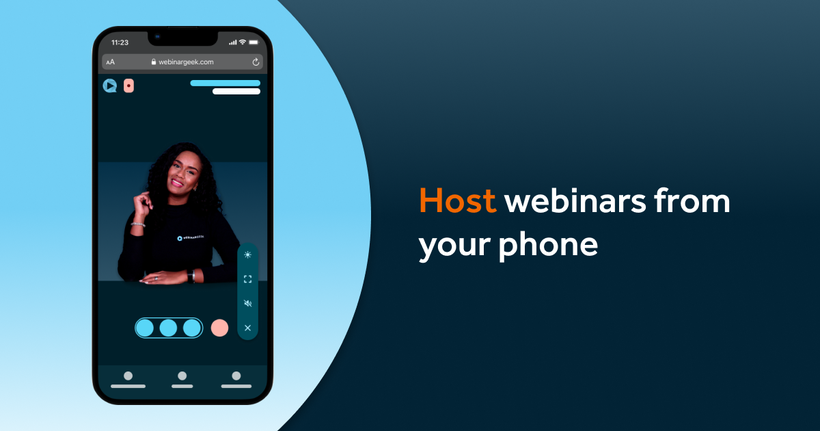
Broadcast a webinar from your mobile phone
Gone are the days when you needed a fancy studio, high-end equipment, or even a desktop computer to host a webinar. Now, all you really need is your mobile phone! Yes, that little device in your pocket can do way more than just send texts or scroll through memes.