A Whiteboard in your Webinar? This is how!
Pam
11 March 2022 - 3 min

We all remember sitting in class and the teacher rolling in a whiteboard to help them teach. Whiteboards are ideal to clarify your theory by writing it out or even drawing it out.
What if you can use that same whiteboard for your webinars? In this blog, we’re explaining how you can set up a whiteboard in your webinar.
Before we start, it is important to know how you can share your screen in WebinarGeek. If you are not familiar with the feature, you can check out the article about screen sharing before you start testing with your whiteboard.
What do you need?
A Miro account
An extra monitor (optional)
What is Miro?
In this tutorial, we are using the Miro app.
Miro is software that is designed to create online whiteboards. The software is incredibly intuitive but at the same time very extensive. You can start with an empty whiteboard, on which you can be as creative as you want. But you can also start off with a template like mind maps, brainwriting, and flowcharts.
The real-time collaboration feature makes Miro incredibly easy for collaborative tasks. Whenever you edit the whiteboard, the edits will immediately become visible for the other collaborators. That means, even when you and a co-presenter are using the board at the same time.
Let’s walk through the steps of creating a whiteboard and using it within WebinarGeek.
Step 1: Create a Miro account
A Miro account starts off free. With the free account, you can edit up to three whiteboards, select and edit templates and collaborate with your teammates.
The free trial fits most needs, especially when you’re reusing the same boards.
Just like WebinarGeek, Miro is browser-based software. Meaning, you don’t have to download anything onto your computer. You only need an account to use the software.
Step 2: Create a whiteboard
Select one of the many templates or create your own empty whiteboard. After you’ve created your whiteboard you can immediately start with editing your whiteboard to your liking.
Step 3: Invite a co-presenter
Are you hosting a webinar with a co-presenter? Then you can invite them as a teammate in Miro to collaborate on your whiteboard. Do this by selecting the ‘share’ button.
Step 4: Screen share in WebinarGeek
When everything is set up in Miro, you can open your live webinar in WebinarGeek via the ‘start live webinar’ button. Select ‘screen sharing’ in the live environment. Now you will see a system dialog. Select the window where Miro is located. You’re now sharing your whiteboard in your live webinar.
Tip: Make sure to use a second monitor. This will keep your tabs and windows more manageable. Open Miro on one monitor and open WebinarGeek on your other monitor. Now both windows can stay open and you can switch easily between the two apps.
Want to host your whiteboard as a side-by-side window or picture-in-picture style? Then you can use external software like OBS or hardware like the Blackmagic ATEM Mini Pro. In this article, we share tips on how to use OBS with WebinarGeek.
Haven’t started hosting webinars yet?
Start your 14-day trial for free!
Start nowRelated articles

Preventing and managing technical issues during your online event
Hosting online events can be exciting, but let’s face it: technical issues can sneak up on you, and that’s the last thing you want. So how can you prevent and manage those issues? In this blog, we’ll walk you through how to stay calm, focused, and professional while delivering a seamless experience for your audience.
The Ultimate Guide for the Best Tech Equipment to Host Webinars
Are you looking for a way to host professional-looking webinars without having to invest in an expensive webcam? This is how you can use your phone camera as a webcam.
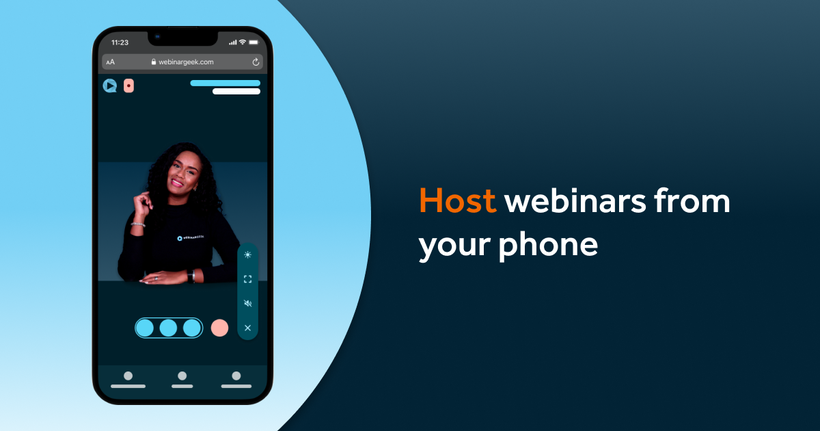
Broadcast a webinar from your mobile phone
Gone are the days when you needed a fancy studio, high-end equipment, or even a desktop computer to host a webinar. Now, all you really need is your mobile phone! Yes, that little device in your pocket can do way more than just send texts or scroll through memes.