How to Use AI Tools to Design the Perfect Responsive Webinar Banner
Caroline
10 October 2025 - 3 min
A beginner-friendly guide using Freepik, Canva, and Adobe AI tools
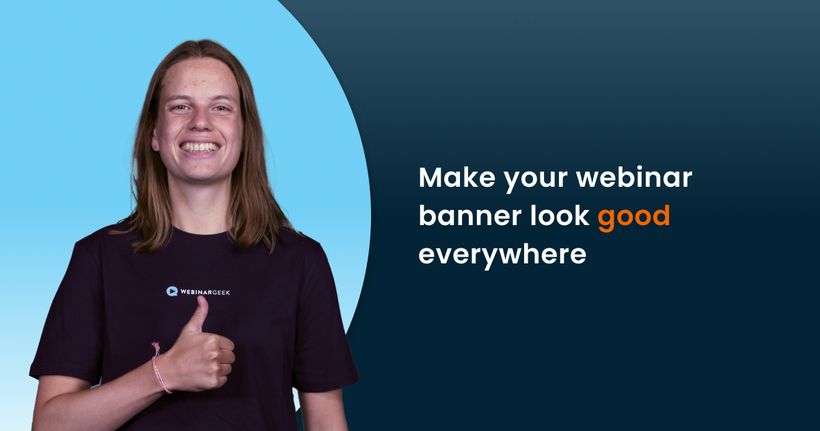
You design a banner for your webinar. It looks great on your laptop. But then you check your phone. The logo is cut off, the text shrinks, and suddenly the whole thing looks off.
This happens a lot. Your banner shows up in different places like your registration page, emails, or social media. Each space has its own size and layout. A banner that fits one spot perfectly might look awkward somewhere else.

That’s where a responsive banner comes in. And the best part? You don’t need to be a designer to make one. With a few simple tools and the right steps, you can create a banner that looks great wherever it appears.
What a “responsive” banner really means
Responsive means your banner can adjust to different screen sizes. Whether someone sees it on a desktop, tablet, or phone, the important parts still come through clearly.
To make that happen:
Keep your logo, headline, and call to action in the center
Use background designs that still look good if the edges get trimmed
Create different shapes and sizes, like wide, square, or narrow versions
Make sure your images stay sharp across all devices
This gives your banner the flexibility to look great in every spot it appears.
Step 1: Review your current banner
Start by looking at the banner you already have.
Check the size and layout. Where is your logo? Your headline? Are there buttons or other visuals?
Decide which parts are essential and which are just decoration. Then imagine how it would look in a smaller space. What might get cut off? What needs to stay visible?
This gives you a clear starting point for your redesign.
Step 2: Prepare your visuals with Freepik
Good visuals make a big difference. Freepik helps you improve the quality of your images and gives you options for adding new elements.

You can:
Make blurry images clearer
Find background textures or small graphics
Create mock-ups to help frame your banner content for easy scaling.
This step gives you the building blocks for a clean and flexible design.
Step 3: Create your banner in Canva
Canva is simple to use, even if you’re not a designer. It helps you build different versions of your banner that look professional and work in lots of places.

Start by creating a wide version, like 1920 by 600 pixels. Add your updated visuals. Keep your logo, headline, and call to action in the center. This is your safe zone.
Use Canva’s background remover if you want to adjust parts of the image. Try the resize or image extend tools to create square or narrow layouts. Or to scale your banner to the right size by extending the image with generative fill. Make sure there’s enough space around the edges so nothing important gets cropped.
Download your final banners as PNG or JPG files to keep the quality high.
Step 4: Make adjustments with Adobe tools
Sometimes you want more control over the layout. Adobe Express and Photoshop can help with that.
Adobe Express works in your browser and lets you fine-tune spacing, align elements, or clean up your design. It has the best generative fill possibilities.

Photoshop offers deeper control with artboards, layers, and masks. It’s helpful when you’re creating banners in several different sizes and want everything to align perfectly.
Start with Canva. Then switch to Adobe tools when you want more precision.
Step 5: Test your banner in real situations
Once you’ve created your banners, test how they actually look.
Open them on your phone, tablet, and desktop. Check how they appear in your registration page.
Testing helps you catch small issues before your audience sees them.
Final tips before you publish
Keep your key content in the center
Use background elements that can be cropped without losing meaning
Create multiple versions instead of stretching one banner to fit everywhere
Test your banner where it will actually show up
With a little time and the right tools, you can design a banner that feels professional and fits every space. No design degree required.
Explore hosting webinars today
Start free trialRelated articles
How to use AI tools like Hedra to level up your webinar content
Whether you’re a content creator, a marketer, or a webinar host, AI tools are making it easier than ever to create high-quality, engaging content. In this post, we’ll dive into one such tool—Hedra—and explore how it can elevate your webinars.

How Leonardo.Ai’s tools can make webinars more impactful
Leonardo.Ai makes creating visuals for webinars easy. During our online event, The Webinarverse, Jessica from Leonardo.Ai gave an engaging presentation on how to do this effectively.

Create slides for your webinar with Prezi AI
In this blog post, we’ll show you how to use Prezi's AI to create engaging slides for your webinar.